elegant and rustic diy ornaments

diy-ornament-9

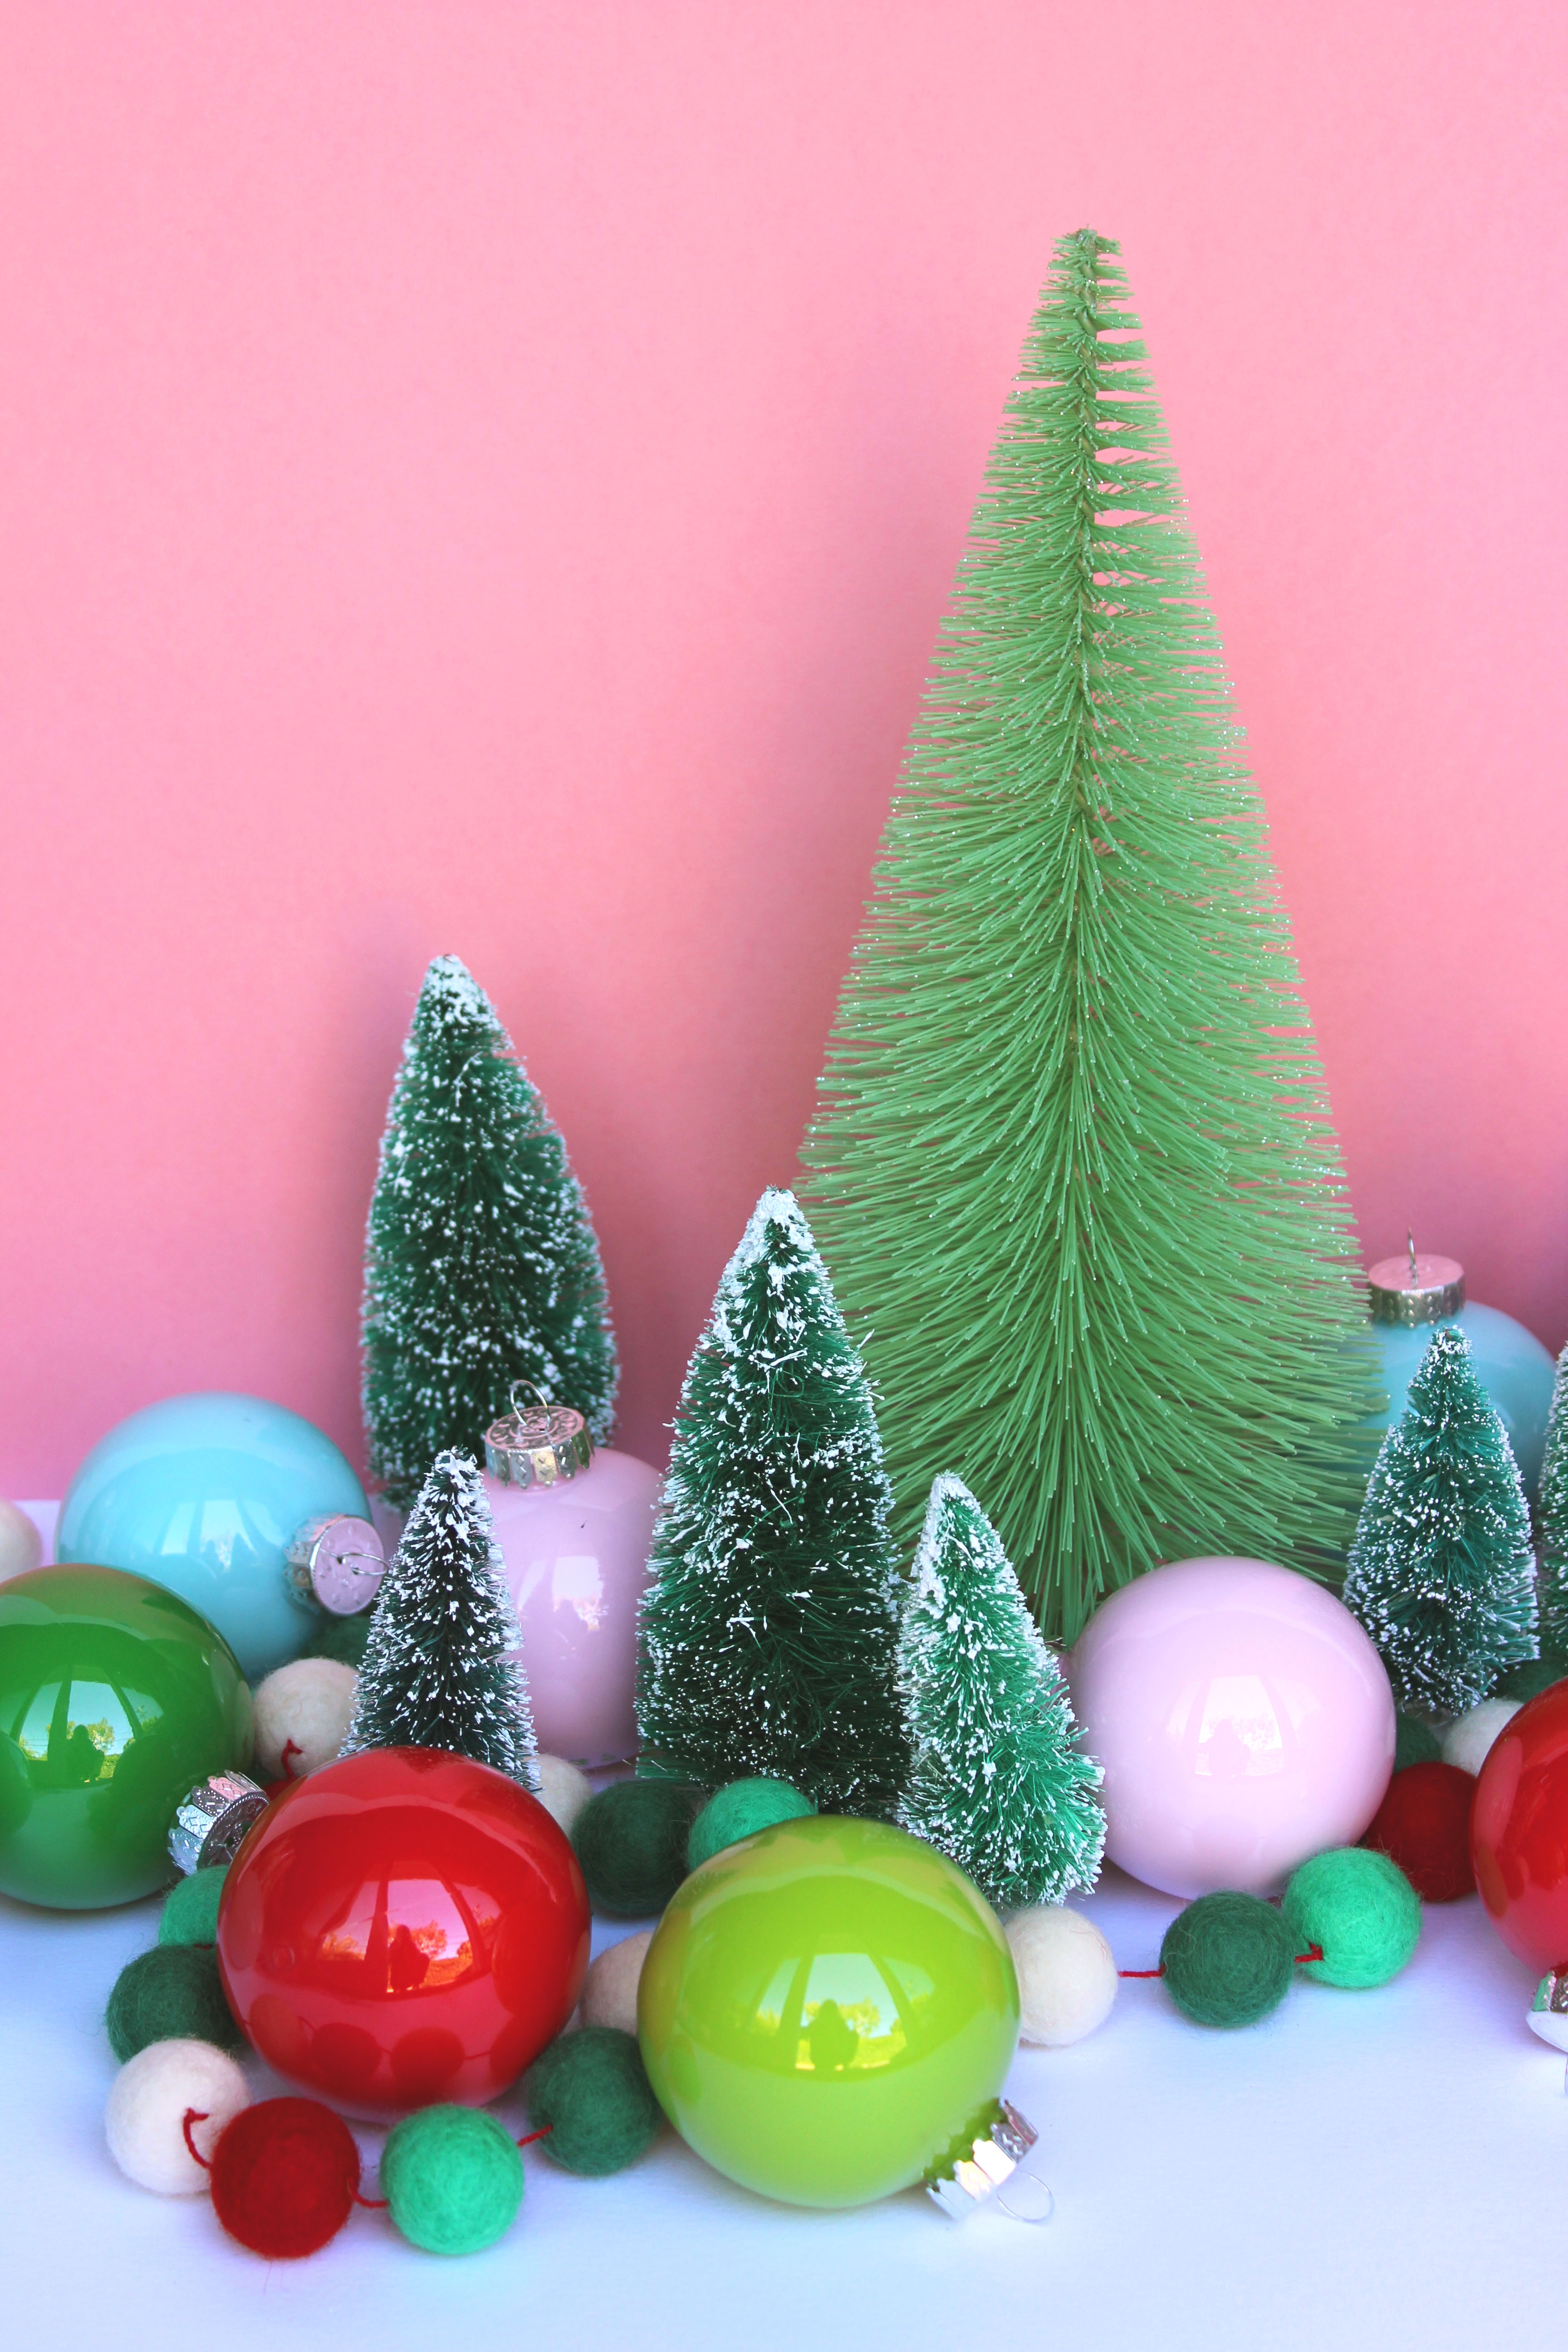
Each holiday season we try to come up with a few fun and easy diy ornaments to do with our kids, but this year we decided to make a few just for ourselves. Each of this year’s ornaments were inspired by a few of our client’s rustic holiday decor from last year, which is so classic that it translates perfectly from one year to the next. What we love most about these ornaments is their elegant simplicity and that they could not have been easier to make!
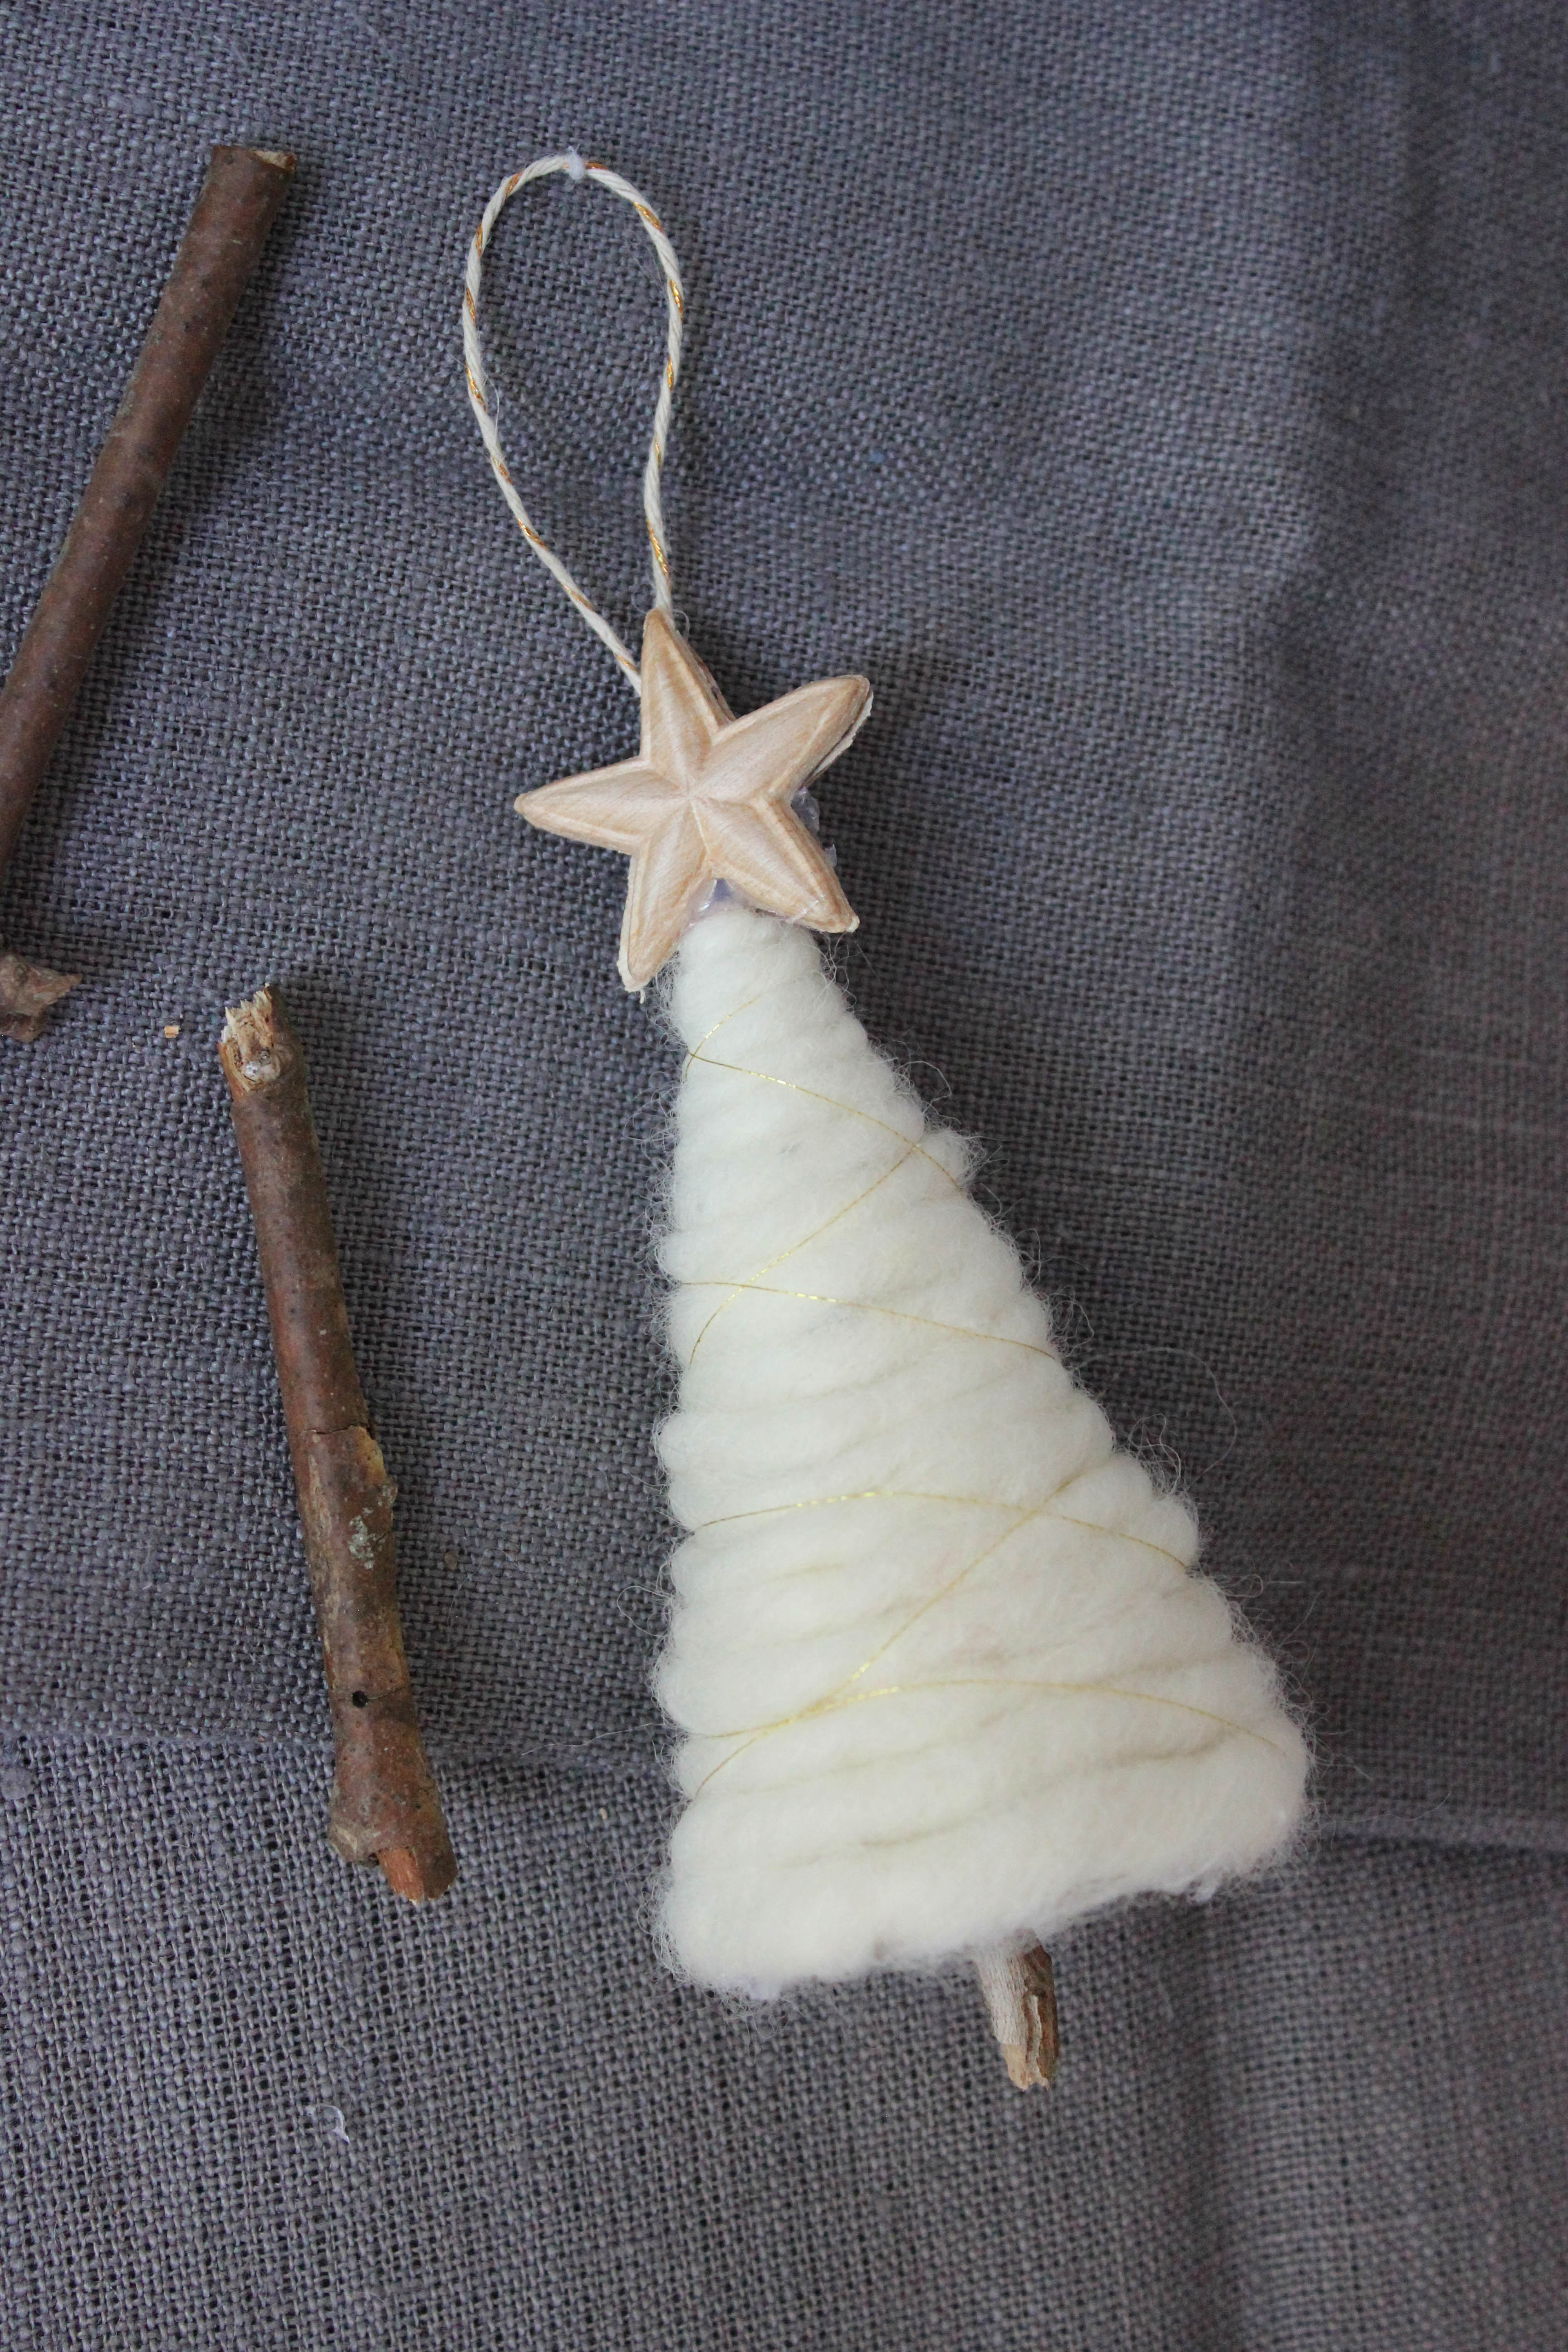
Rustic White Tree

Even though we focused on colorful holiday decor this year, we just couldn’t resist these monochromatic tree ornaments. We were able to whip these up with a few left over cones from our diy advent calendar and some sticks we found in the back yard.

diy-ornament-6

Supplies:

diy-ornament-1

Wool Roving is what is used for felting crafts. We decided to use wool roving because we couldn’t find the chunky wool yarn we wanted and found that wool roving was the next best thing, as well as being a lot less expensive! Wool roving comes in rolls, so you will want to start by unrolling the wool and cutting it into long strips that are about 2-3″ wide. There’s no need to be precise when you’re cutting, slightly messy edges looks best.

diy-ornament-2

Once the wool is cut, hot glue the end to the tip of the kraft paper cone. Then begin twisting the wool and wrapping it around the cone. Stop every inch or so to add a drop of hot glue to the kraft paper cone to make sure that the wool stays in place. Continue twisting and wrapping the wool all the way down the cone until you have reached the bottom. Then add a dot of hot glue to the inside base of the cone and fold the end of the wool to that it covers the glue. Trim any remaining wool from the end of the strip of wool inside the cone.

diy-ornament-5

We decided to add a touch of sparkle to our tree by wrapping it with thin gold thread. Start by placing a small dot of hot glue to the inside base of the cone and placing the end of the gold thread in the glue. Once the glue cools, begin wrapping the thread around the outside of the cone in a haphazard way until you reach the tip of the cone. Then wrap the thread back down to the base of the cone. Trim the thread so that the end is one inch longer than the base of the cone. Place another dot of hot glue on the inside base of the cone and lay the end of the thread in the glue, releasing the thread once the glue has cooled.

diy-ornament-3

Break your stick so that it is about an inch longer than the cone. Then place a large dollop of hot glue on one end of the stick and insert it into the cone so that the stick fits right up into the tip of the cone. Let the glue cool slightly before letting go of the stick.

 diy-ornament-4

To make the star on top of the tree, start by cutting a 4 inch piece of twine and then fold it in half. Place a dot of hot glue on one if the wood stars and lay the ends of the twine in the hot glue. Cover the same wood star with a thin layer of hot glue and place the second star over the first to sandwich the twine loop in between them. Last, place a large dot of hot glue on the bottom of the star, on the opposite end of the twine, and then attach the star to the tip of the cone. Hold the star in place until the glue cools.

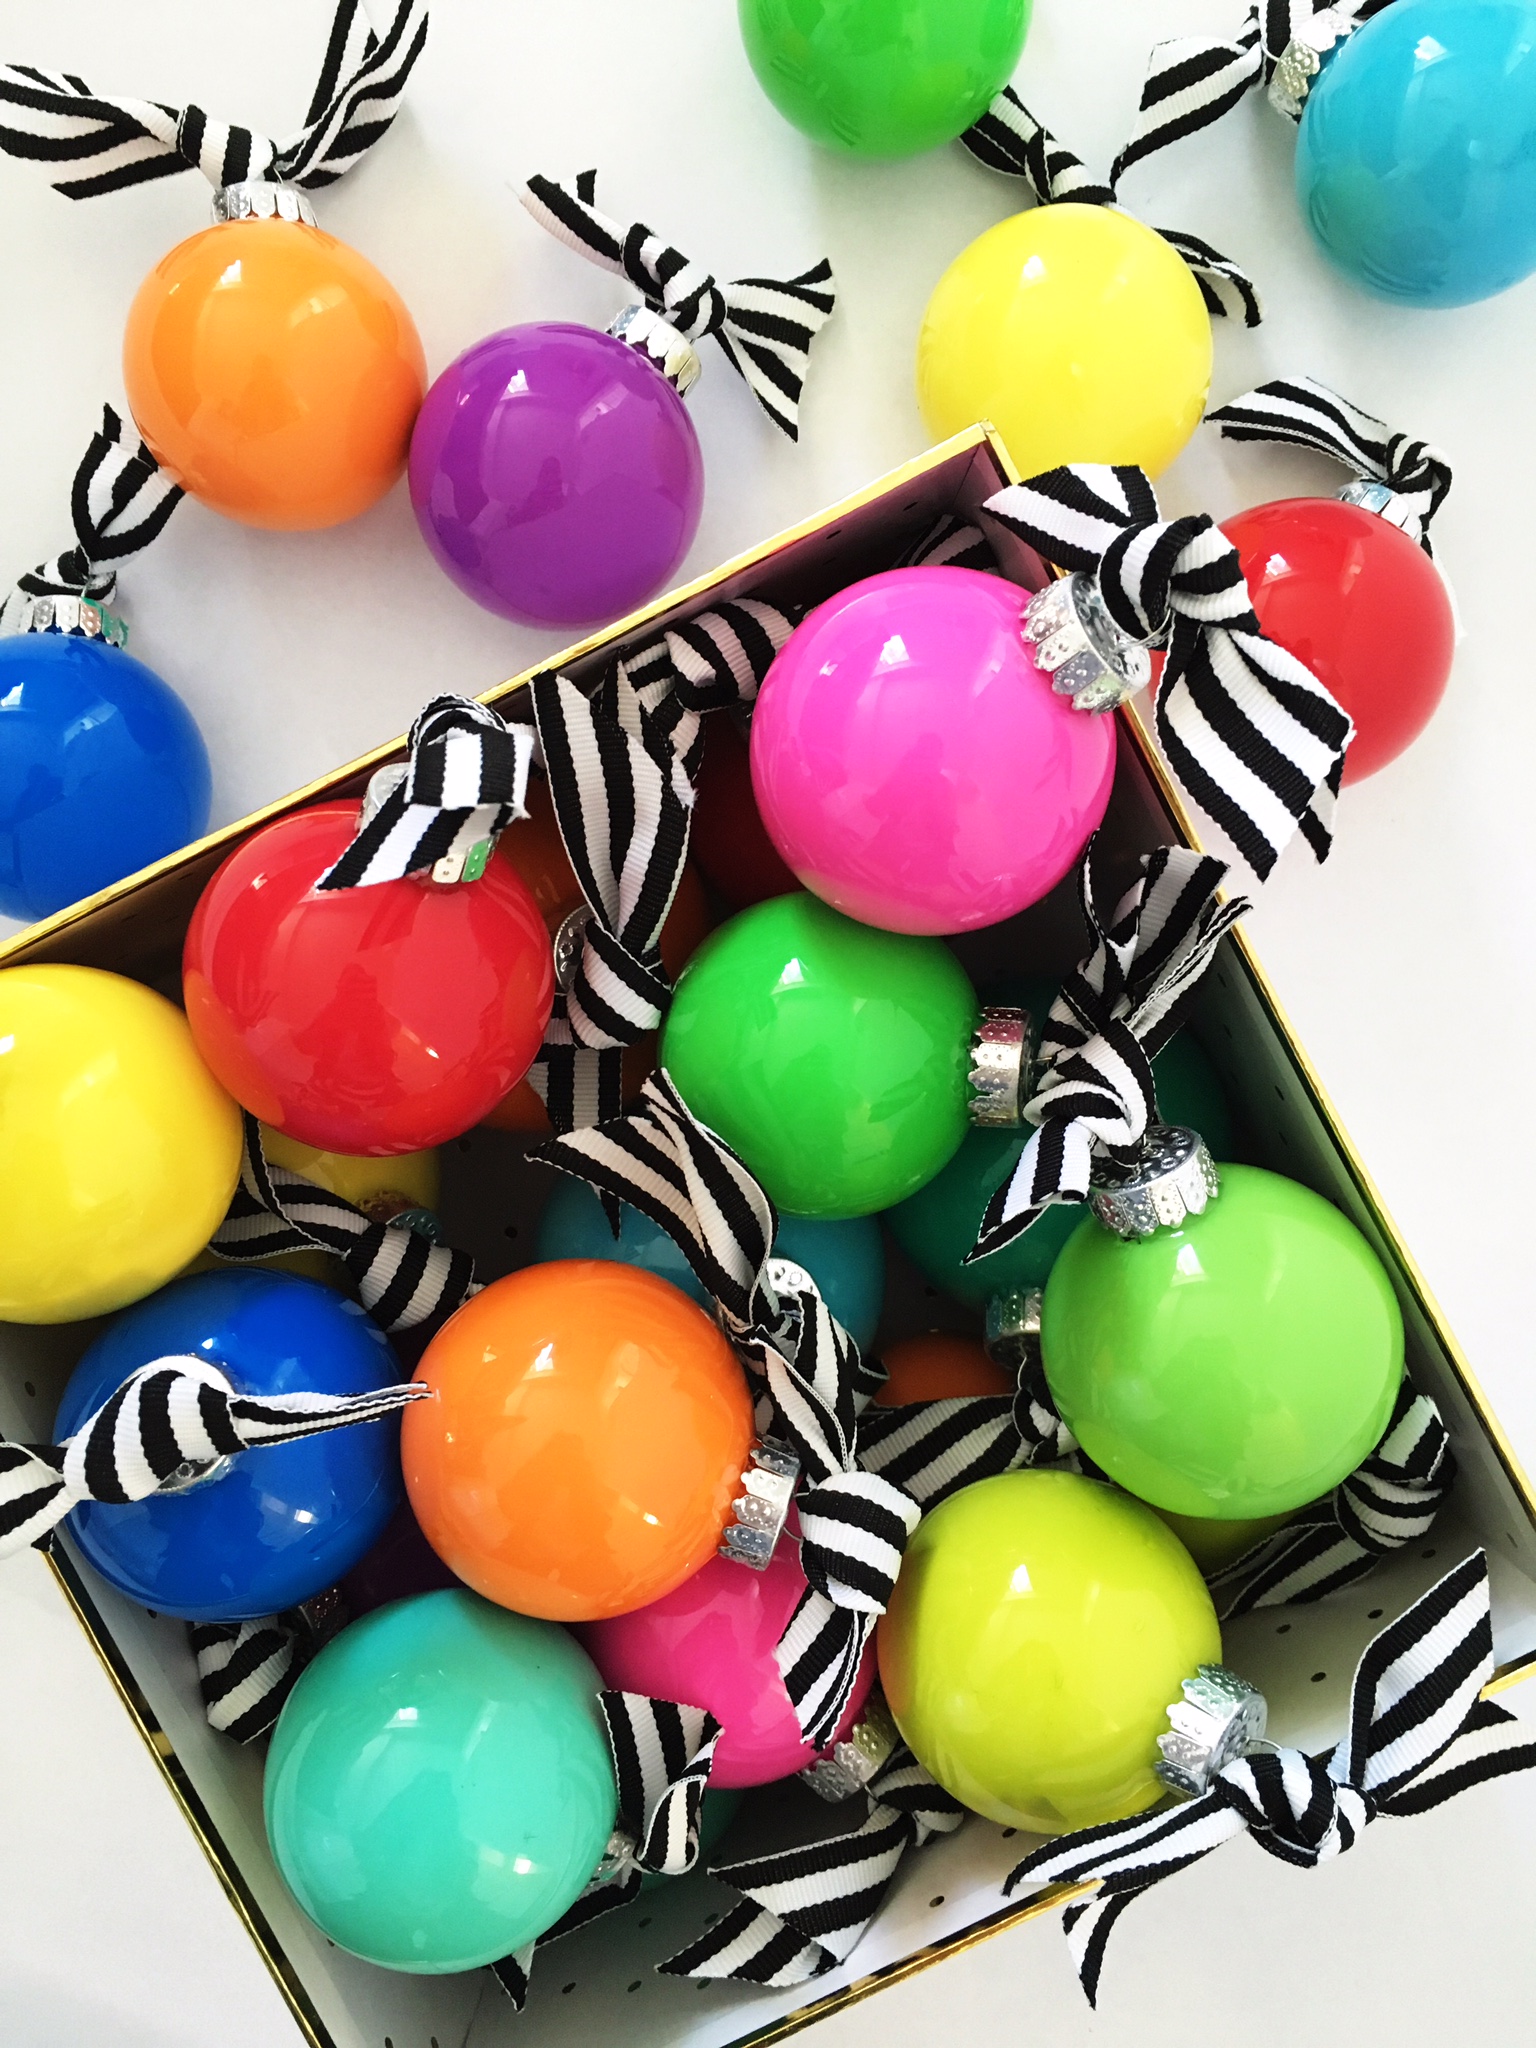
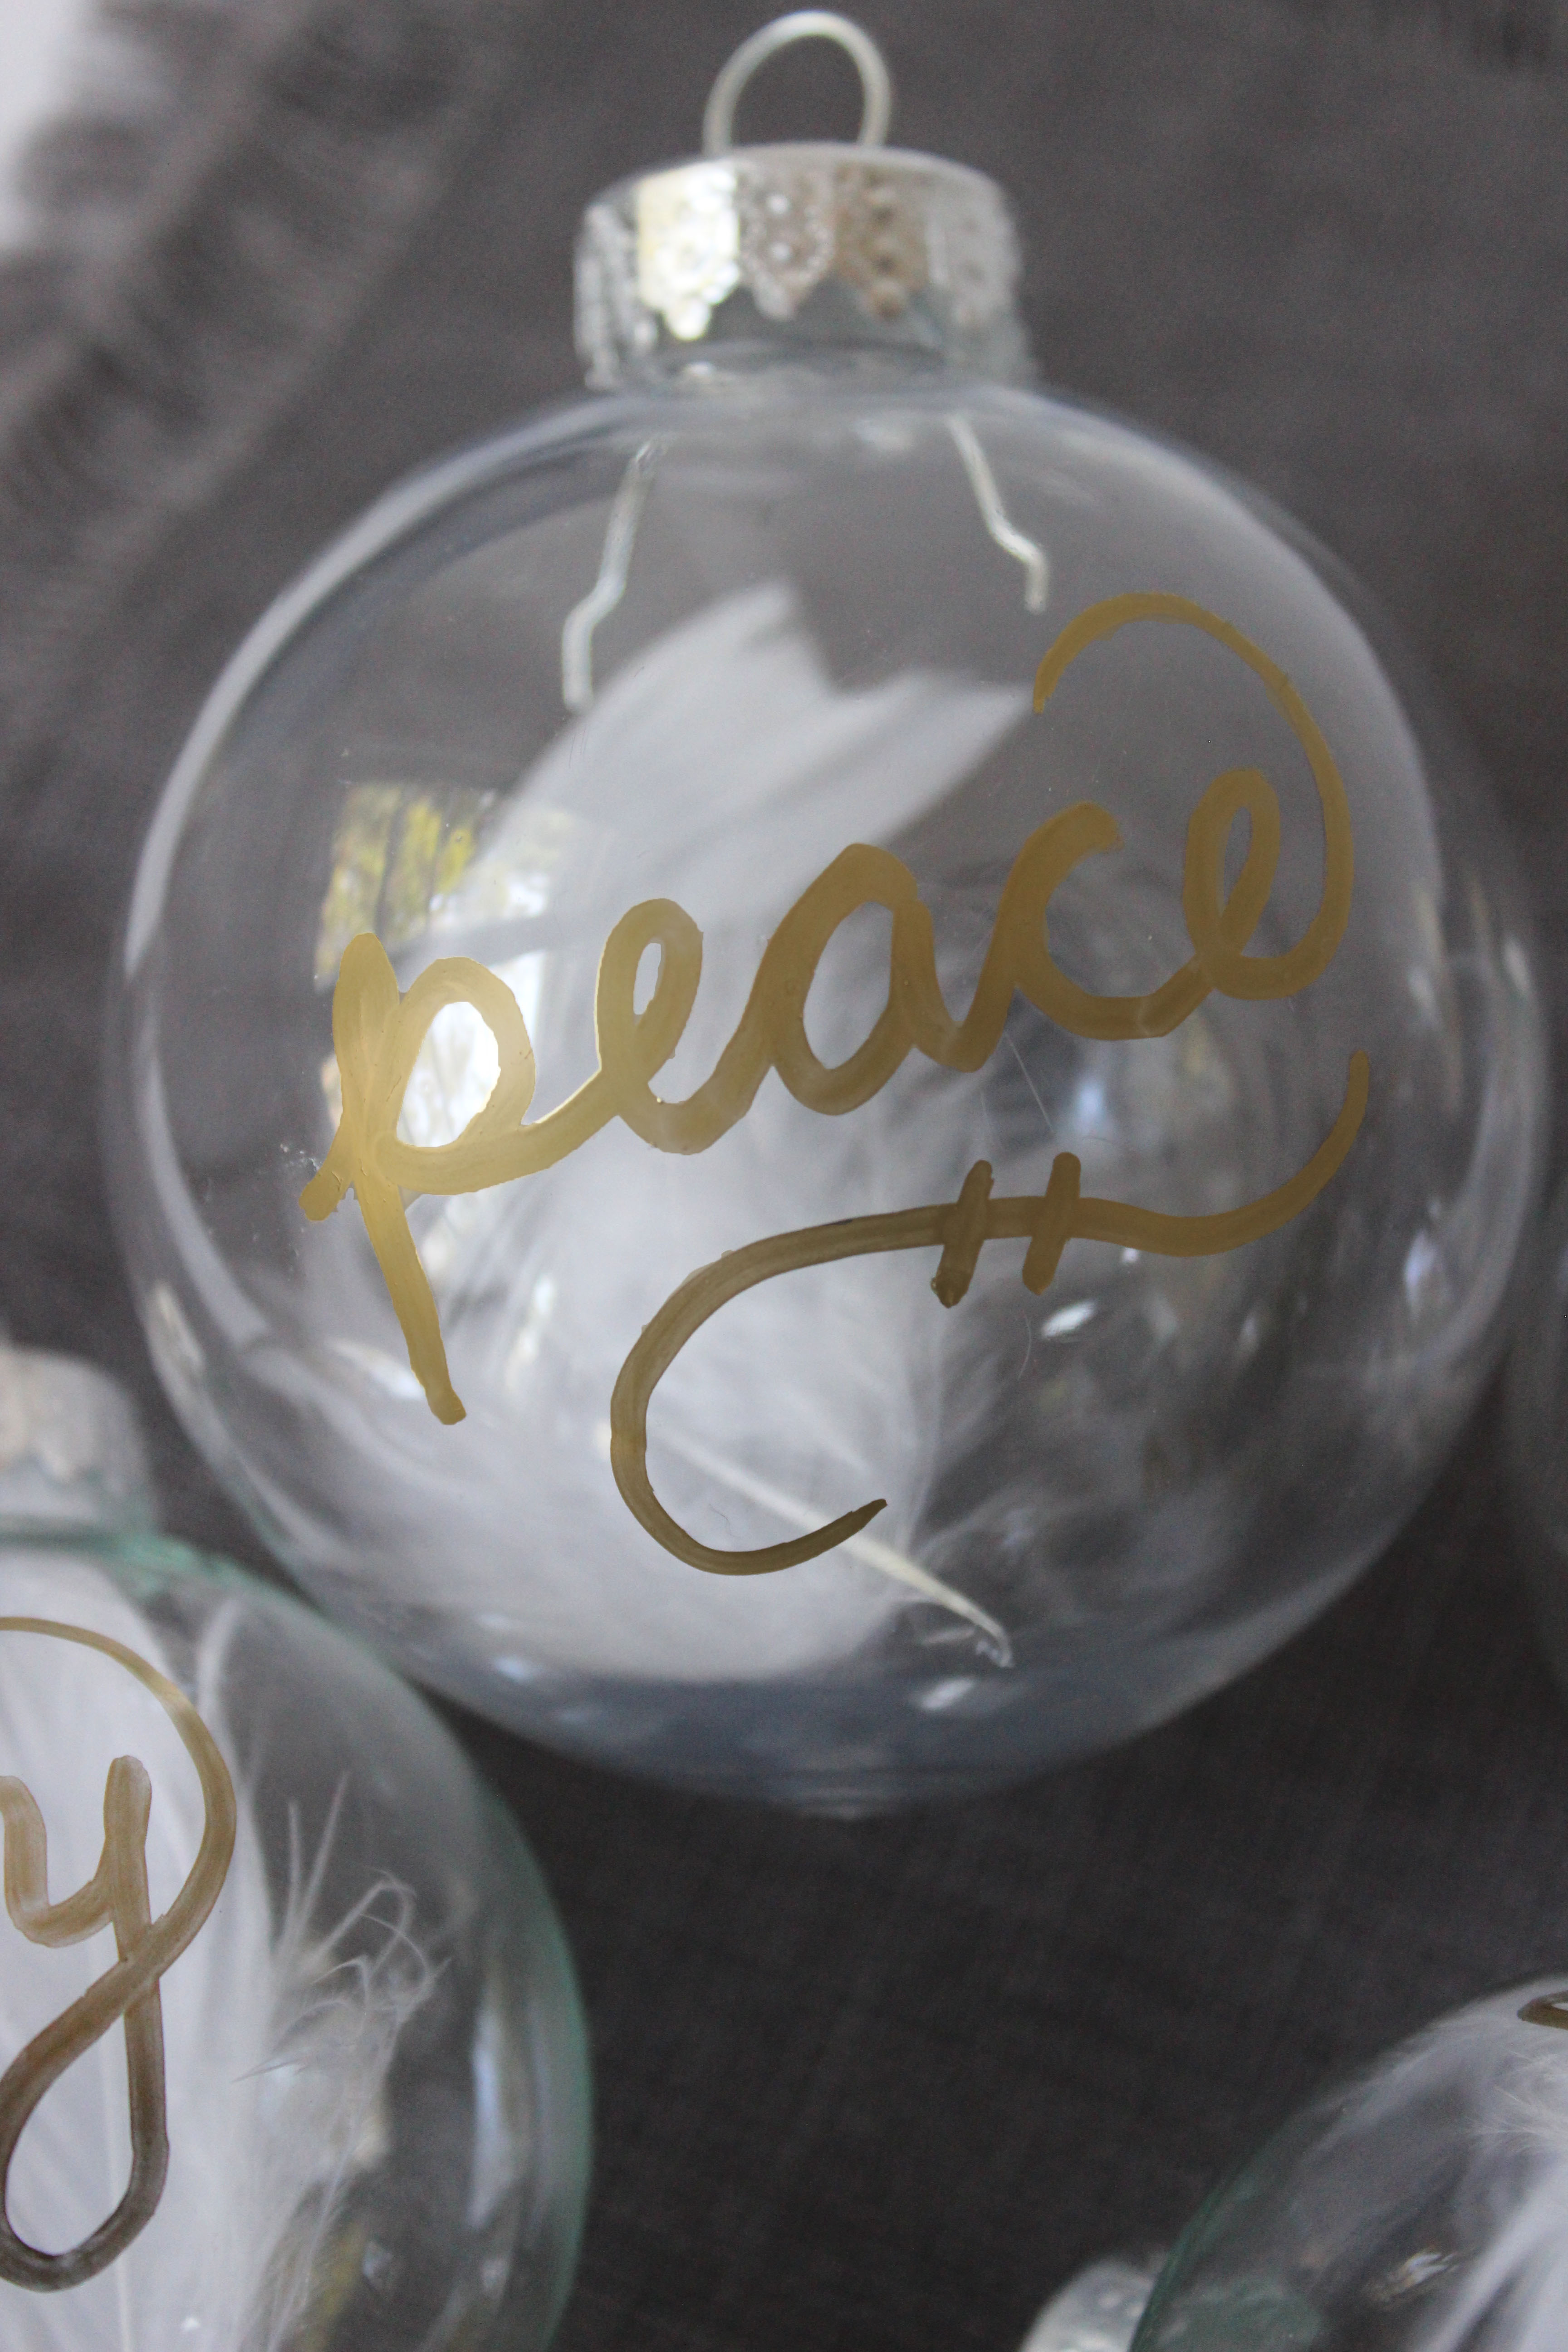
See Through Ornaments

Of all the ornaments that we’ve ever made, these have to be the easiest. And even though we made these ornaments for us, our kids loved helping fill them with feathers and leaves.

diy-ornament-7

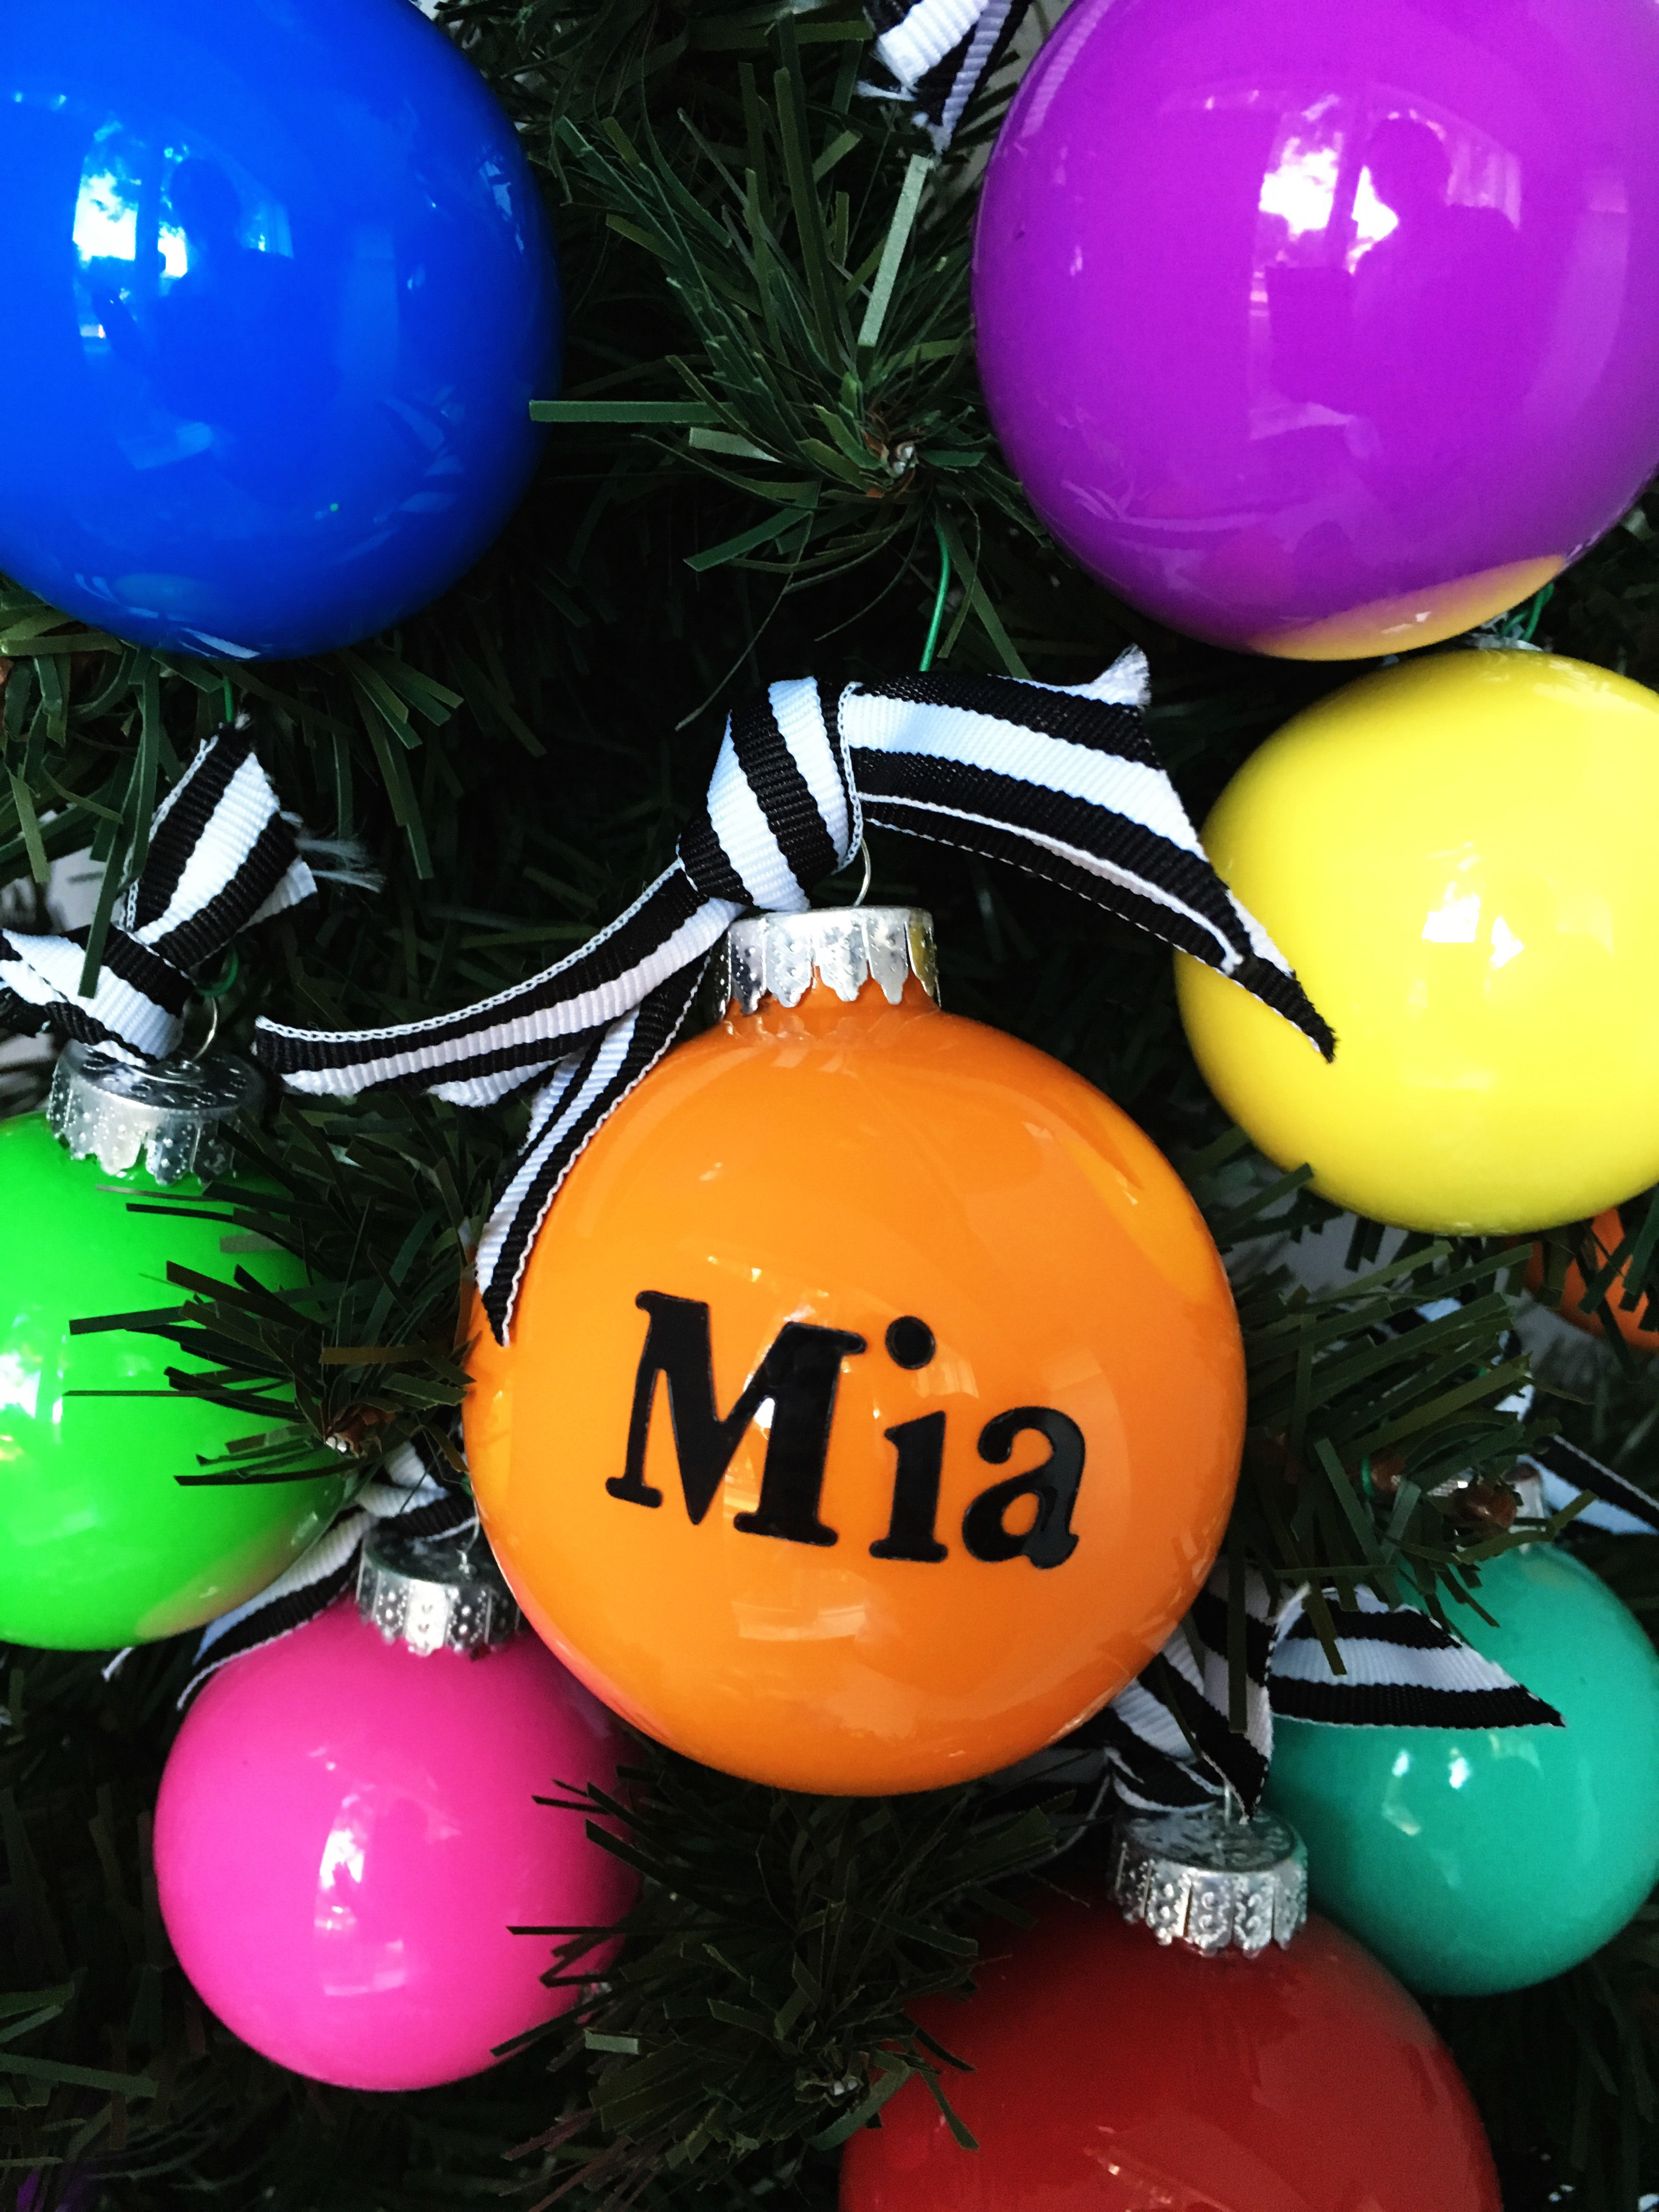
We started with several clear plastic ornaments, white and gold paint pens, our favorite greenery and a few white feathers. First we had our kids place a sprig of boxwood or a feather in each ornament. While our kids were having fun placing goodies inside the ornaments, we wrote festive words such as “joy,” “noel” and “peace” on the outside of the ornaments with white or gold paint pens.

diy-ornament-10

diy-ornament-8

These ornaments were so quick and easy that we churned our several in a matter of minutes. But the best part was how fun they were for all of us to make!

jane-can-heart-logo.jpg

Ashley + Hallman

colorful christmas decor

holiday-decor-1

Decorating our homes is always one of our favorite parts of Christmas.  Every year we like to mix it up and try something new. We have done traditional red and green decor and black and white decor, so this year we decided to decorate with lots of color!  Charlie, who is 4 years old, informed us that pink and blue are not Christmas colors, but we loved the way they looked with red and green. We made tassels, painted ornaments, used felt balls, and bottle brush Christmas trees to create our colorful Christmas decor.

Wreath

To make the ornaments for this year’s theme, we bought plastic ornaments at Michael’s and filled them with craft paint in the colors of our choice. To make these ornaments, follow the instructions from last year’s colorful DIY ornament post. We wired the ornaments to a boxwood wreath and finished it off with a pale pink ribbon.

holiday-decor-10

Mantel

We added color to Hallman’s neutral stockings by making a collection of tassels for each stocking. We decorated the mantel with our DIY painted ornaments, a collection of green bottle brush Christmas trees that we found at Michaels and Target, and a felt ball garland from Paper Source.

img_6741

To make the tassels, we started with a few skeins of yarn in the colors of our choice. To make the large tassels, we wrapped one color of yarn around 4 fingers 40-50 times depending on how thick the yarn was. Then we cut the  yarn and carefully removed the looped yarn form our fingers. We then cut a 12 inch piece of yarn from the same skein, folded it in half, thread it through the middle of the looped yarn and tied it in a double knot very tightly. This became the top of the tassel. Next, we cut another 12 inch piece of yarn in the same color and tied it tightly in a double knot around the looped yarn, about 1 inch down from first knot we tied. Finally, we cut the looped ends at the bottom of the tassel so that they were even. To make the smaller tassels, we wrapped the yarn around 3 of our fingers 20-30 times, depending on the thickness of the yarn. Then we followed the same steps we used for the large tassels in order to finish the small tassels.

holiday-decor-5

We tied varying colors and sizes of the tassels together, and then tied each tassel group to the loop on each stocking.

holiday-decor-3

Table

We continued our theme to the table using the same ornaments, bottle brush trees and felt balls to create a centerpiece. On each place setting we tied the napkins with a set of three handmade tassels. to add a pop of color to our neutral linen napkins.

holiday-decor-16

Happy Decorating!

jane-can-heart-logo.jpg

Hallman + Ashley


colorful diy ornaments

RainbowOrnamentsBox

Every year we like to get a little crafty with our ornaments and make a few new ones to add to our tree. Ornaments are like Easter eggs, there are so many fun things you can do with them…the possibilities are endless. We even used some of our ideas for decorating Easter eggs and tried them out on ornaments. Whenever possible, we like to get our kids involved in our crafts, so we have included several ways that kids can help.

Acrylic Paint Ornaments

PaintedOrnamentsRainbow

This year our kids’ really wanted their own little Charlie Brown tree in their rooms and we thought it would be fun to create a colorful tree that was merry and bright. These paint ornaments could not be easier to make.

We found all of our ornaments at Michael’s, but you can find fine most of them online as well. When you open your box of clear ornaments be sure to save the part of the box that holds the ornaments to use as a tray. Make sure you have covered your work surface and that you are wearing clothes that you don’t mind getting paint on. Open the top of your ornament. Chose the color of acrylic paint that you want to use and squeeze the paint inside the ornament. Shake the ornament spreading the paint on every surface inside the ornament. If you have some holes, take the ornament and knock it firmly on the heal of your hand until the paint covers the inside of the ornament.

ornament instruction1

IMG_7098

Tip your ornaments upside down in the tray from the ornament box and let the excess paint drip out.  Leave for a few hours to dry and then turn your ornament over and put the top back on. We tied each ornament with the same black and white striped ribbon that we used in our black, white and gold holiday decor. You can also add letter stickers to the ornaments to spell out your child’s name, monogram or a festive word. The paint does not completely dry inside the ornament so be careful not to hang these ornaments where they could break easily. We loved being able to pick the exact colors we wanted for these ornaments and our kids love their colorful Christmas tree.

Abstract Painted Ornaments

PaintedOrnament2

Ornaments are really fun to paint for kids and adults. Start with white glass ornaments or spray paint clear ornaments. Remove the top of the ornament and start painting. There are no rules for this craft. We experimented with a lot of different painted designs and we liked some more than others. For the ornaments above we picked 4 colors that we liked together and painted different designs on each ornament in our chosen color palette. We tied the ornaments with red and white striped ribbon and hung them with an ornament hook.

Gold Foil Ornaments

GoldFoilOrnament

These gold foil ornaments were also really fun to make. We bought a box of glass ornaments in our favorite colors. We applied gild adhesive randomly all over the ornaments with a clean foam paint brush, making sure not to cover the ornament completely. Modge Podge also worked in place of gild adhesive. Next we placed pieces of Martha Stewart gilding sheets on the ornaments and gently patted them down with a clean paint brush. A trick of letting these ornaments or any painted ornament dry is to stick skewers into oasis and place the ornaments on top of the skewers until they dry. If you don’t have oasis, a piece of styrofoam or  even a shoe box might work.

ornament photo

Splatter Paint Ornaments

IMG_7096

To create these splatter painted ornaments, use a medium size, fluffy paint brush and cover it heavily in paint. Next hit the paint brush over your pointer finger and let the paint splatter all over the ornament without touching the brush to the ornament. If that is too hard for your kids, you can also have them flick the brush just over the ornaments, making sure not to touch them. With a clean brush, switch colors and repeat the process. Once you have made it through all the colors, let the paint dry. Once the paint is dry, flip the ornaments over and splatter paint on the other side.

Happy Crafting!

jane-can-heart-logo.jpg

Hallman + Ashley